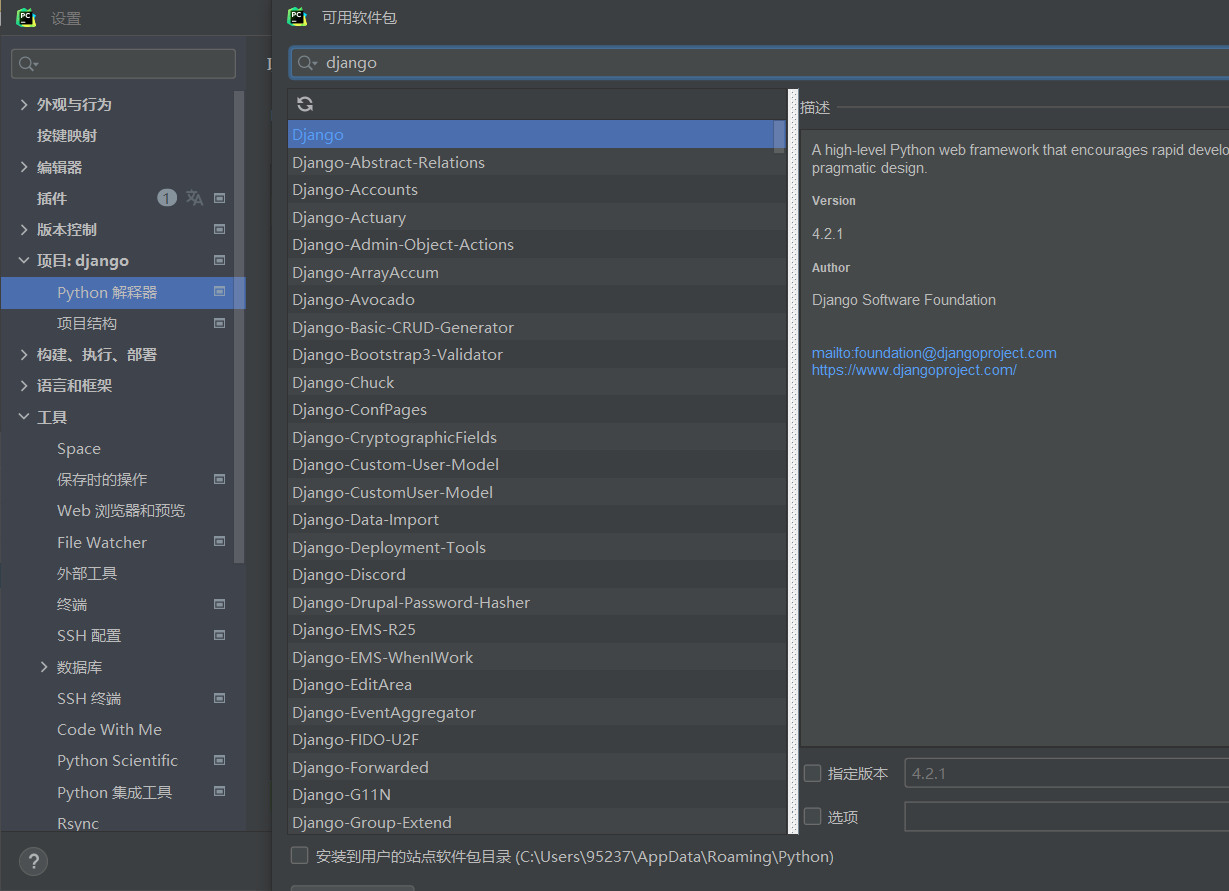
环境配置 安装,创建django项目
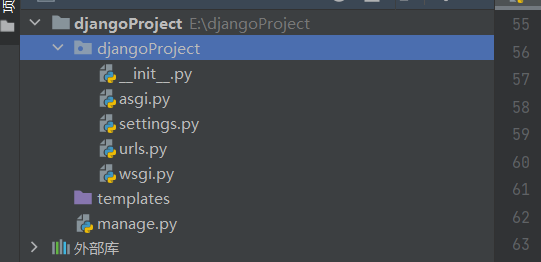
默认文件 1 2 3 4 5 6 7 __init__.py asgi.py 接受网络请求,异步请求,无需改动 settings.py 项目配置文件 urls.py 路由设置文件 wsgi.py 接受网络信息文件,头部请求,无需改动 templates manage.py 核心文件,负责项目管理,启动,创建app,数据库管理
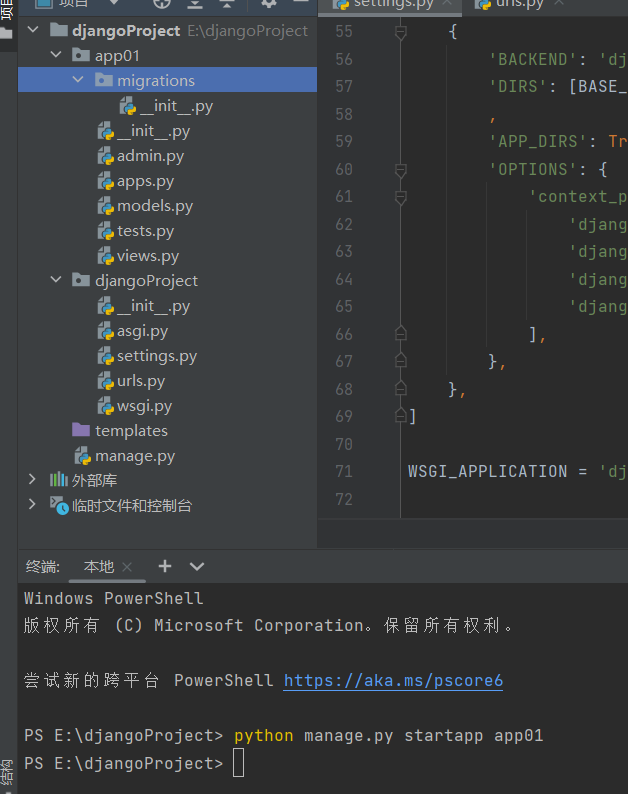
app创建 app负责实现项目功能点
在终端输入
1 python manage.py startapp app01
1 2 3 4 5 6 apps.py 无需改动 tests.py 单元测试,无需改动 migrations/__init__.py 数据库字段变更,无需改动 admin.py 后台模块,无需改动 views.py 重要内容,与函数有关 models.py 重要内容,数据库操作
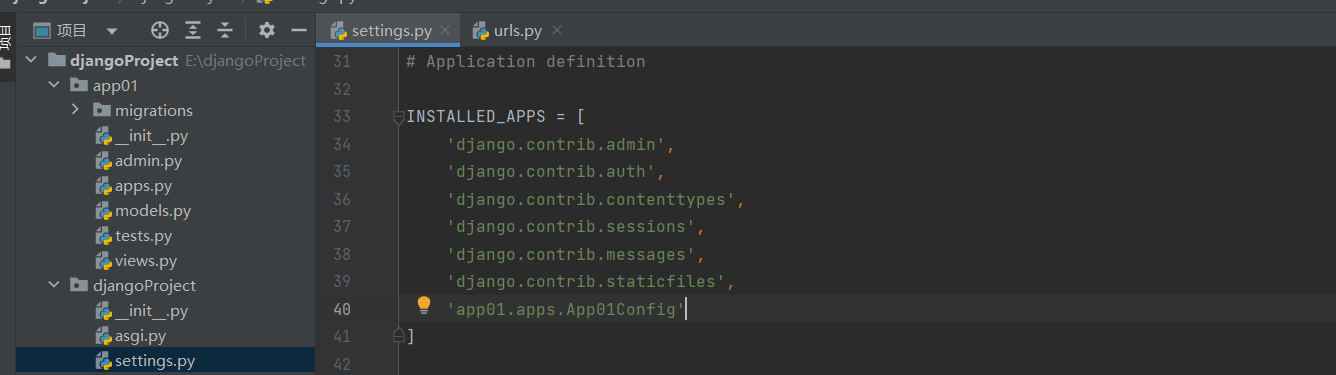
启用django 创建完毕app还需要在settings.py进行注册
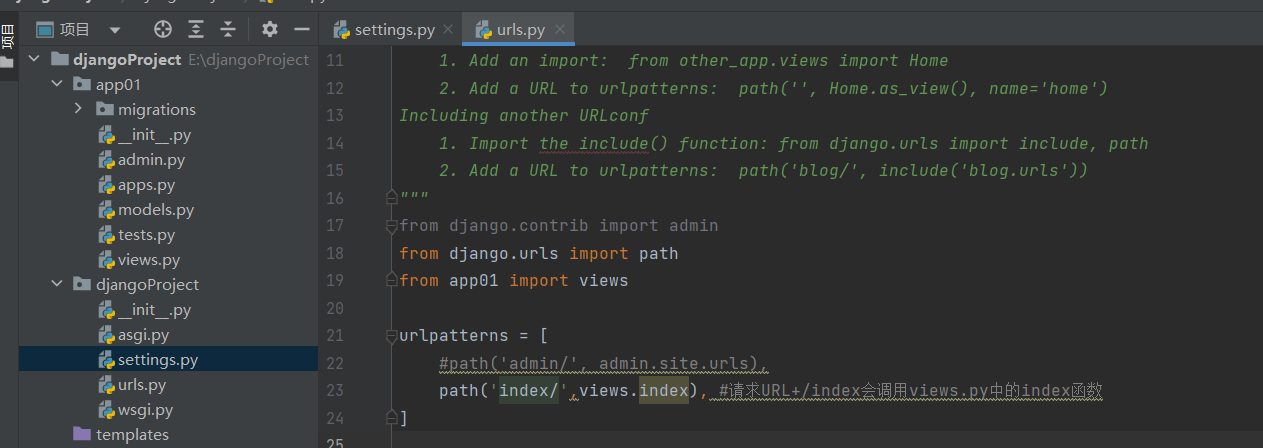
然后编写url和视图函数对应关系,在urls.py
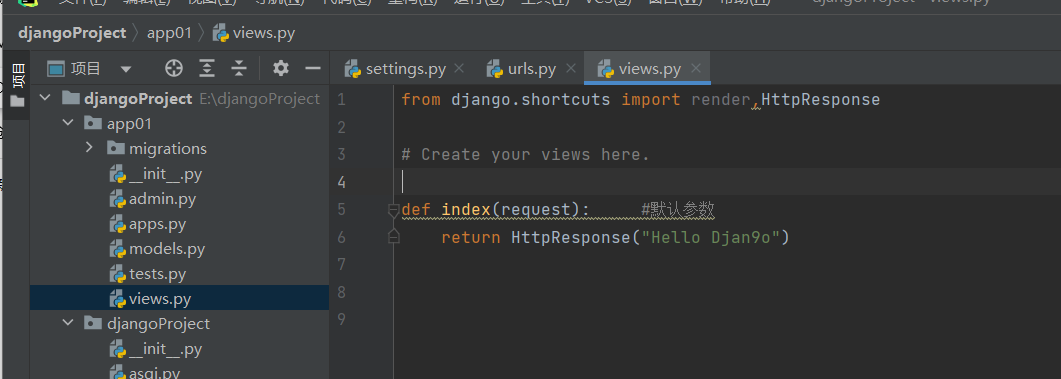
views.py中
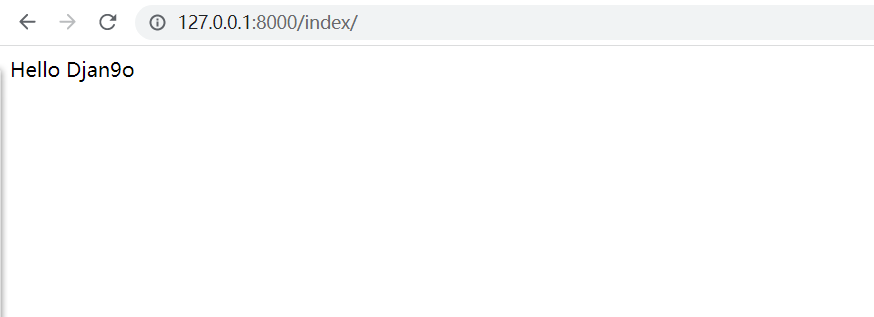
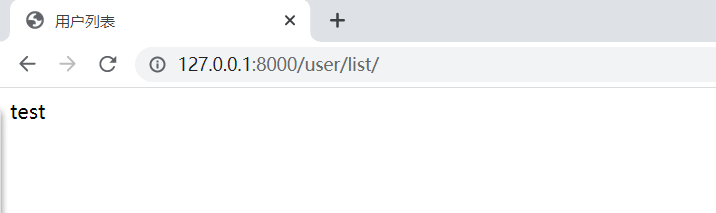
启动程序,成功访问
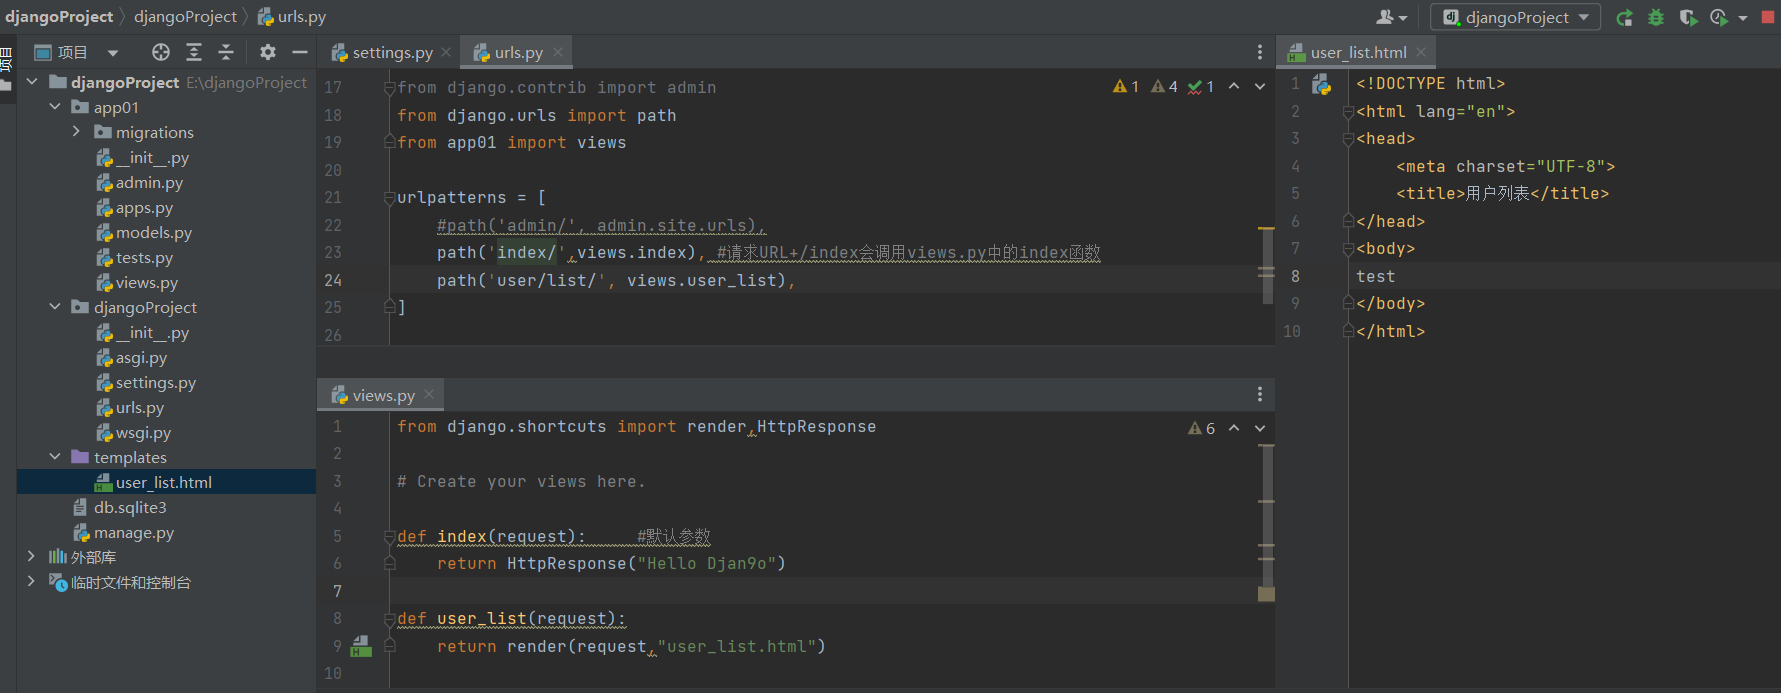
模板与静态文件 返回字符串可以直接使用httpresponse,但如果想要返回一个html文件,就需要使用template目录了
如何找到template模块的呢?
在settings.py的这一段中,如果app01注册了,那么就去app01目录下找template,如果没找到就去下一个app的template找,都没找到就去上级目录template
1 2 3 4 5 6 7 8 9 10 11 12 13 14 15 16 TEMPLATES = [ { 'BACKEND' : 'django.template.backends.django.DjangoTemplates' , 'DIRS' : [BASE_DIR / 'templates' ] , 'APP_DIRS' : True , 'OPTIONS' : { 'context_processors' : [ 'django.template.context_processors.debug' , 'django.template.context_processors.request' , 'django.contrib.auth.context_processors.auth' , 'django.contrib.messages.context_processors.messages' , ], }, }, ]
如果上述代码被删除了,就会根据app的注册顺序去找
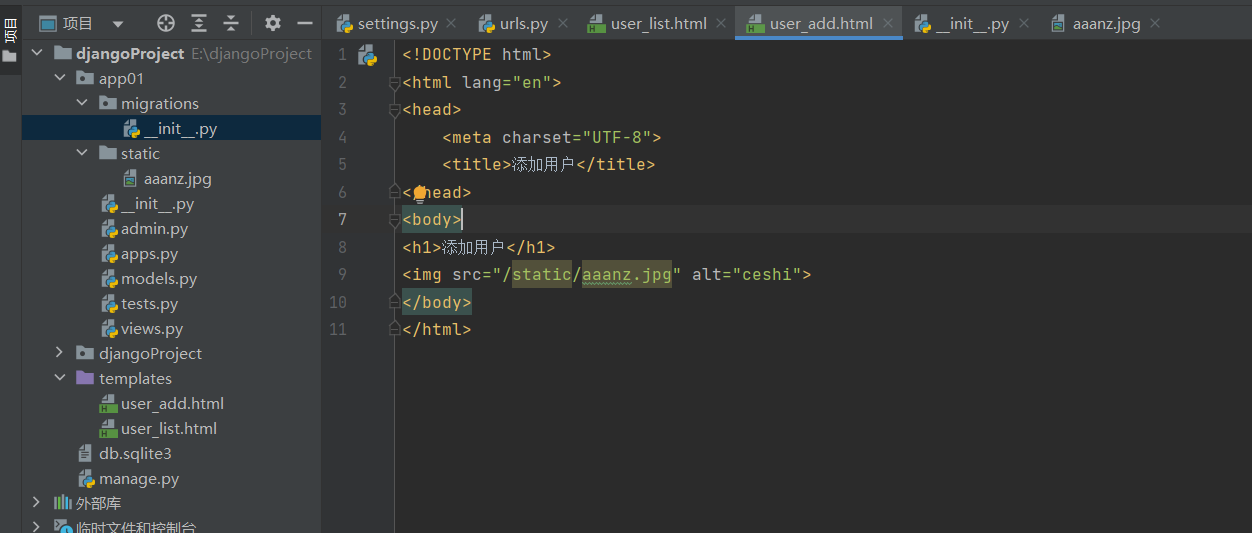
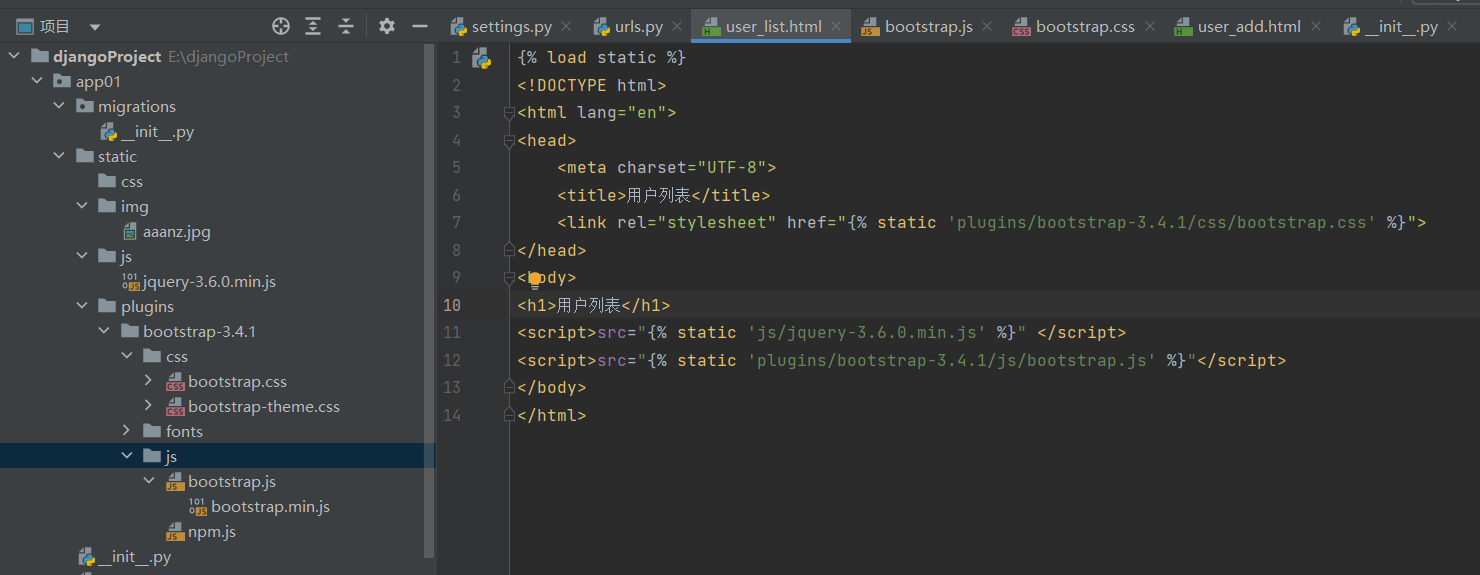
settings.py也设置了静态文件存放目录
添加好路由和文件
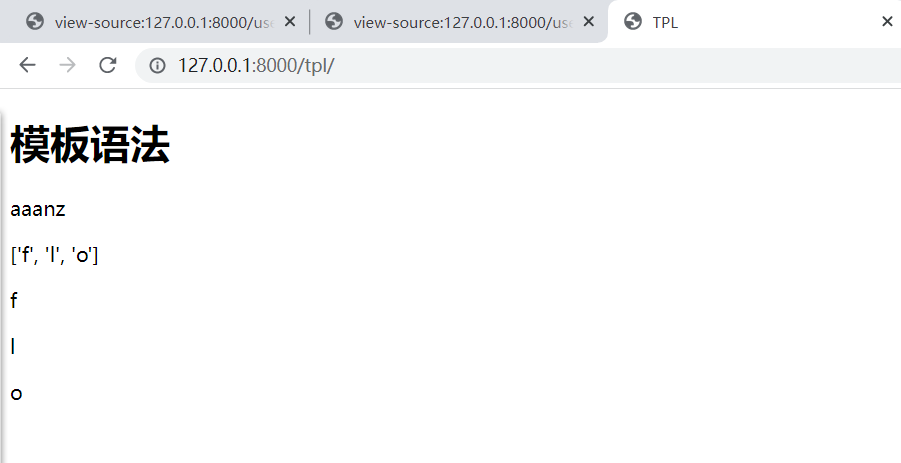
Django模板语法 引用变量 引入变量使用{{}}
语句 可以使用{%%}中可以写判断和循环语句
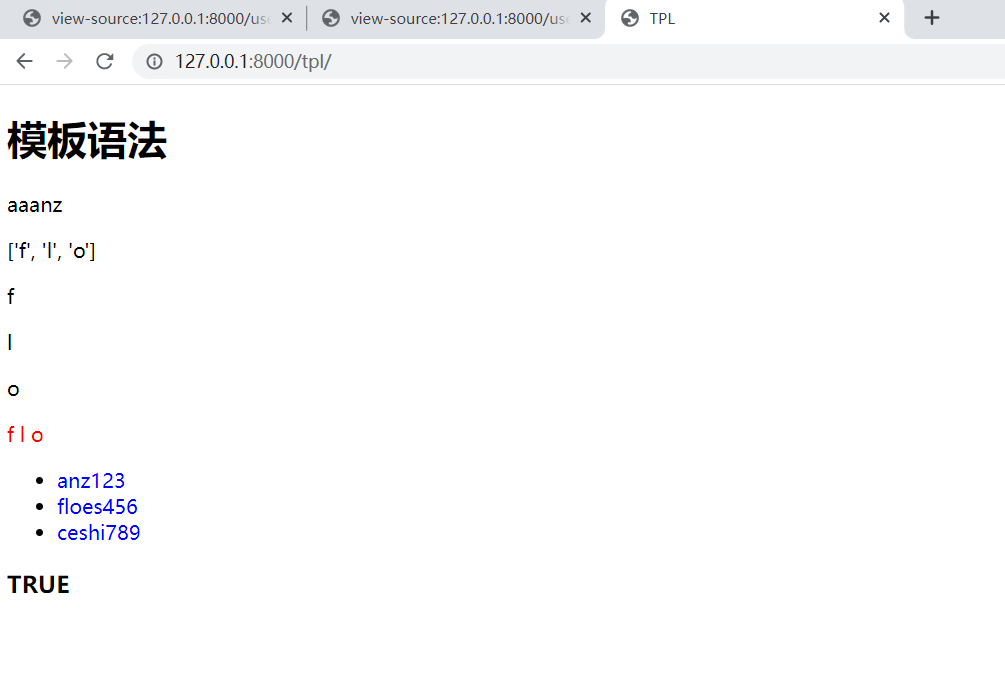
1 2 3 4 5 6 7 8 9 10 11 12 13 14 15 16 17 18 19 20 21 22 23 24 25 26 <!DOCTYPE html > <html lang ="en" > <head > <meta charset ="UTF-8" > <title > TPL</title > </head > <body > <h1 > 模板语法</h1 > <p > {{ n1 }}</p > <p > {{ n2 }}</p > <p > {{ n2.0 }}</p > <p > {{ n2.1 }}</p > <p > {{ n2.2 }}</p > <p > {% for item in n2 %} <span style ="color: red" > {{ item }}</span > {% endfor %} <ul > {% for i,j in n3.items %} <li > <span style ="color: blue" > {{ i }}{{ j }}</span > </li > {% endfor %} </ul > </p > </body > </html >
1 2 3 4 5 6 7 <p > {% if n1 == "aaanz" %} <h3 > TRUE</h3 > {% else %} <h3 > FAlSE</h3 > {% endif %} </p >
请求与响应 先定义一个request函数
1 2 3 4 5 def request (request ): print (request.method) print (request.GET) print (request.POST) return HttpResponse("返回数据" )
接下来实现简单的用户登录
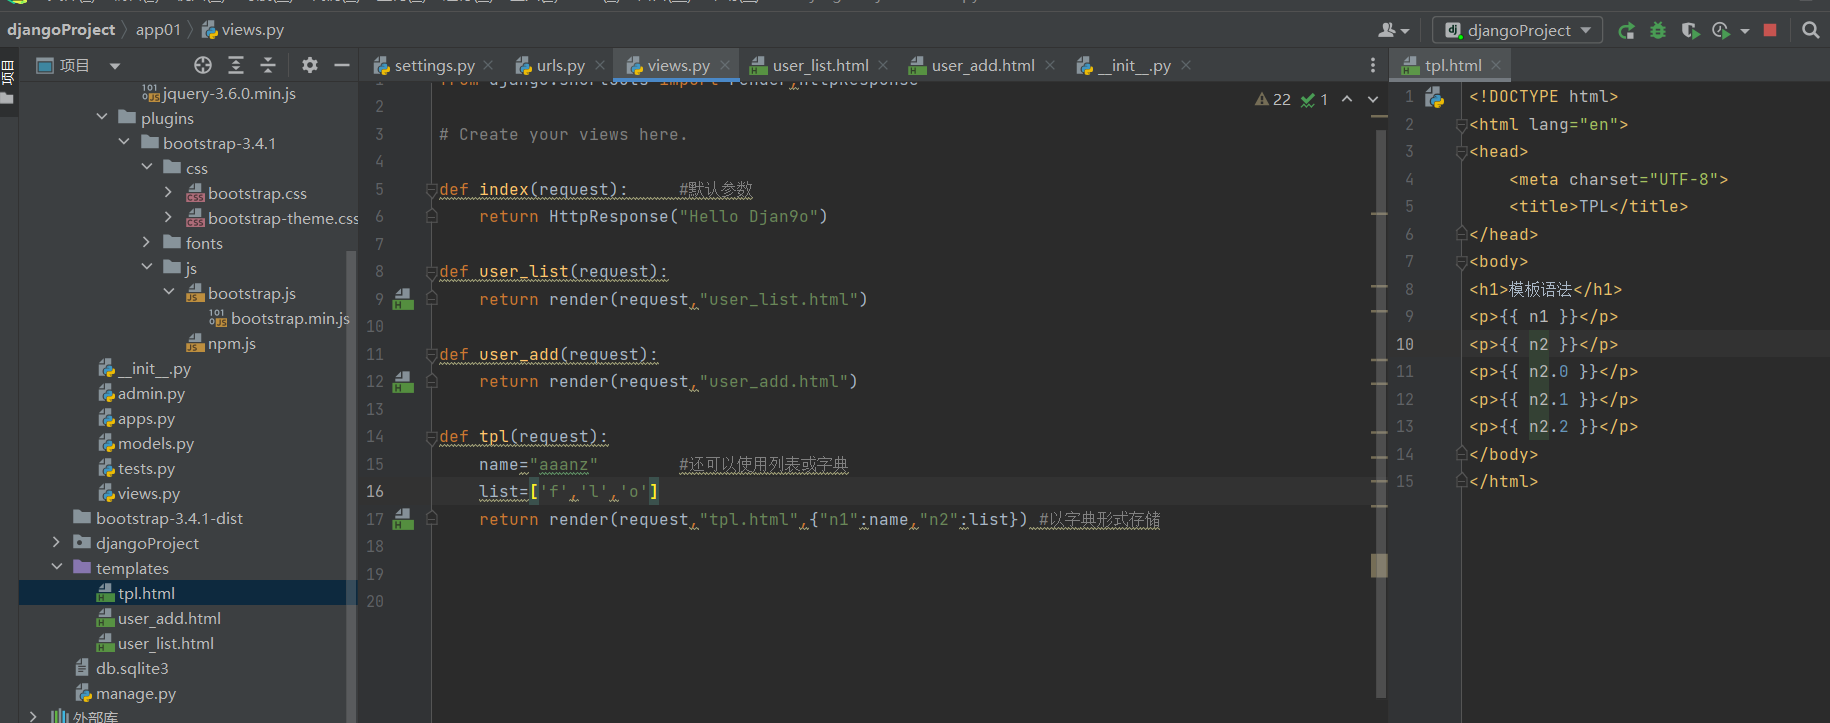
views.py
1 2 3 4 5 6 7 8 9 10 11 12 13 14 15 16 17 18 19 20 21 22 23 24 25 26 27 28 29 30 31 32 33 34 35 36 from django.shortcuts import render,HttpResponse,redirectdef index (request ): return HttpResponse("Hello Djan9o" ) def user_list (request ): return render(request,"user_list.html" ) def user_add (request ): return render(request,"user_add.html" ) def tpl (request ): name="aaanz" list =['f' ,'l' ,'o' ] dicc={"anz" :123 ,"floes" :456 ,"ceshi" :789 } return render(request,"tpl.html" ,{"n1" :name,"n2" :list ,"n3" :dicc}) def request (request ): print (request.method) print (request.GET) print (request.POST) return HttpResponse("返回数据" ) def login (request ): if request.method=="GET" : return render(request,"login.html" ) else : username=request.POST.get("username" ) passwd=request.POST.get("passwd" ) print ("用户名:%s,密码:%s" %(username,passwd)) if username=="root" and passwd=="root" : return redirect("http://39.105.125.61:8888/" ) else : return render(request,'login.html' ,{"error_msg" :"用户名或密码错误" })
login.html
1 2 3 4 5 6 7 8 9 10 11 12 13 14 15 16 17 18 {% load static %} <!DOCTYPE html > <html lang ="en" > <head > <meta charset ="UTF-8" > <title > 用户登录</title > <link rel ="stylesheet" href ="{% static 'plugins/bootstrap-3.4.1/css/bootstrap.css' %}" > </head > <body > <form method ="post" action ="/login/" > {% csrf_token %} {# 防止非法访问 #} <input type ="text" name ="username" placeholder ="用户名" > <input type ="password" name ="passwd" placeholder ="密码" > <input type ="submit" value ="提交" > <span style ="color: red" > {{ error_msg }}</span > </form > </body > </html >
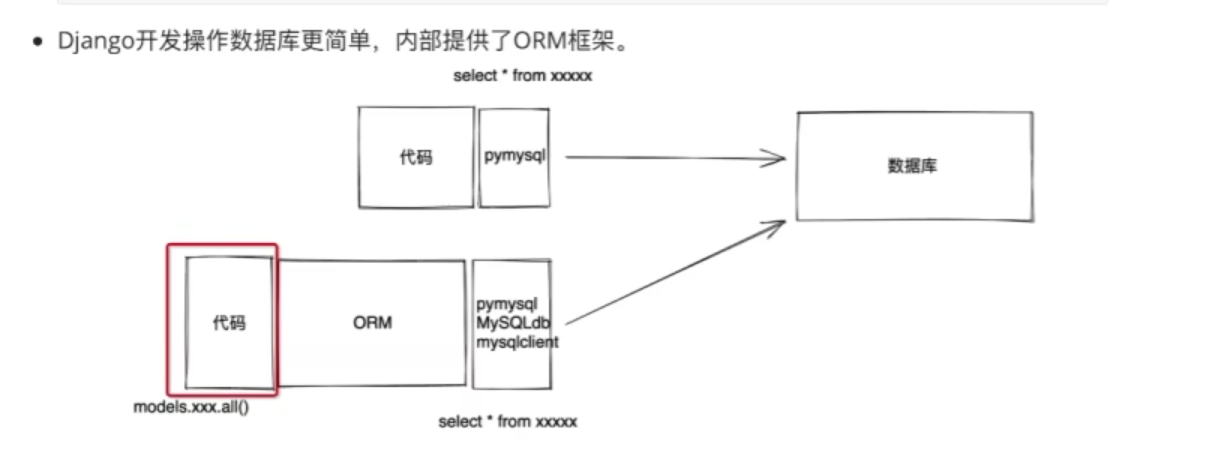
ORM-连接mysql的模块
ORM可以创建,修改 ,删除数据库中的表
首先安装mysqlclient
然后settings.py中设置连接mysql数据库
1 2 3 4 5 6 7 8 9 10 DATABASES = { 'default' : { 'ENGINE' : 'django.db.backends.mysql' , 'NAME' : 'aaanz' , 'USER' : 'floes' , 'PASSWORD' : '123456' , 'HOST' : '127.0.0.1' , 'PORT' : '3306' } }
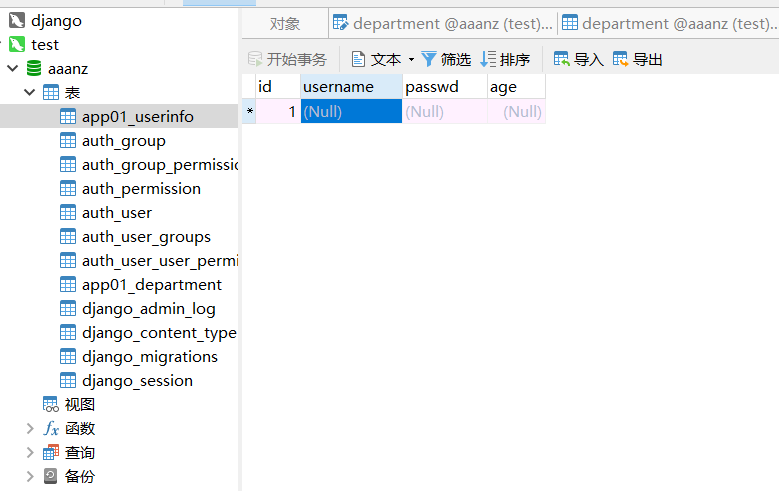
然后就可以使用models.py对数据库进行操作了
1 2 3 4 5 6 7 from django.db import modelsclass Userinfo (models.Model): username=models.CharField(max_length=32 ) passwd=models.CharField(max_length=64 ) age=models.IntegerField()
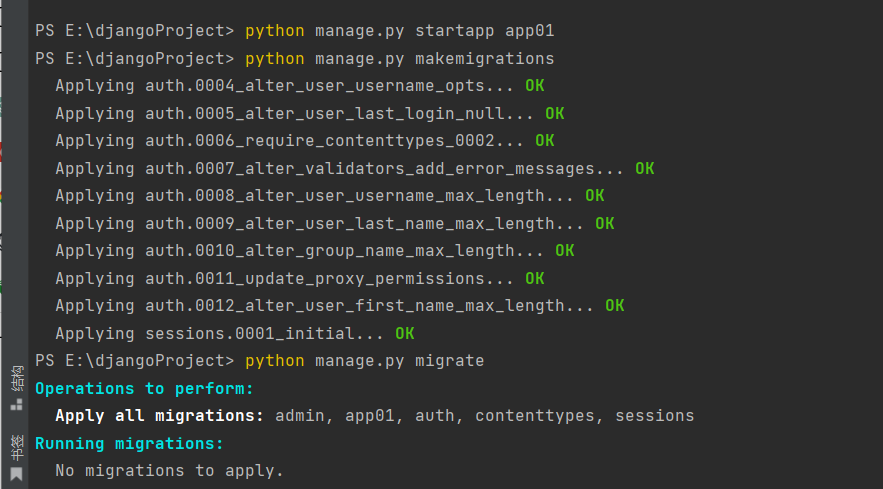
然后使用命令即可执行表创建命令
1 2 python manage.py makemigrations python manage.py migrate
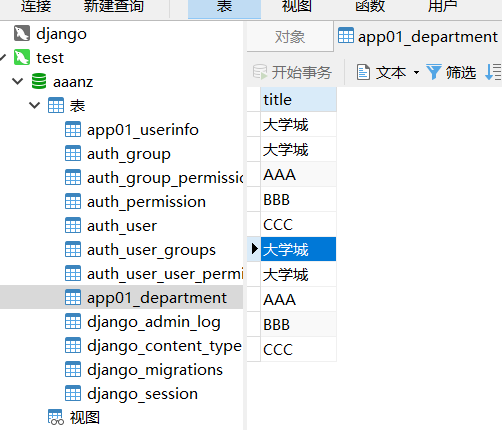
数据增删改查 注册app01_department表,然后在views.py中操作
1 2 3 4 5 6 7 8 9 10 11 12 13 14 15 16 17 18 def orm (request ): models.Department.objects.create(title="AAA" ) models.Department.objects.create(title="BBB" ) models.Department.objects.create(title="CCC" ) models.Userinfo.objects.filter (id =2 ).delete() models.Userinfo.objects.filter (id =3 ).delete() data = models.Userinfo.objects.all () for i in data: print (i.id , i.age, i.name, i.password) a = models.Userinfo.objects.filter (id =1 )[0 ] print (a.id ) models.Userinfo.objects.filter (id =4 ).update(name="heart" ) return HttpResponse("Success!!!" )